According to the European Commission, in Europe we consume 16 tonnes of raw materials per person and year, of which six tonnes is converted into waste. In 2012, the total amount of waste generated in EU-28 for the total amount of economic activities and households was 2.52 billion tonnes, with around 2.3 billion tonnes being treated. Around 40% of this processed waste is reused or recycled.
Reducing the amount of waste generated will therefore not only decrease the amount of materials that need to be treated, but also help to resolve health and environmental issues. Furthermore, it will help to improve the levels of greenhouse gases in the atmosphere and avoid other negative impacts at local level, such as the deterioration of the landscape or air and water pollution.
In this post, we are going to suggest an idea that is creative, healthy and eco-friendly, so you can do your bit in helping to reduce waste: Upcycling.
What is Upcycling?
Upcycling, also referred to as creative reuse, involves transforming an unwanted item, or one that is going to be turned into waste, into a new product of better quality, different use, or with greater environmental value.
Upcycling is, moreover, a great way of exercising your creativity, coming up with different ways of reusing items, and giving them a second life. Reviving different objects that have already been discarded, and turning them into small, inventive “works of art” is a fun way of helping the environment (and your wallet, don’t forget that!).
But did you know that handicraft has other benefits, too? For example:
- Better coordination. As we need coordination between the different senses to carry out the activity – such as painting, cutting out and sewing- we exercise and develop our eye-hand coordination, spatial awareness and motor skills.
- Better mindset. Handicraft requires us to focus on what we are doing, and for a time we forget about everyday problems and stress. If our mind is busy and we concentrate on a task, we won’t have much time left to worry about things.
- Better self-esteem. By creating our own unique personal items, we obtain tangible results that we can show off to other people, and so gain personal motivation.
Great activity for children
This is also very good for children, because if you teach them to approach tasks in a fun way, you will be helping to improve their creative skills, as well as instil in them such values as patience and perseverance.
How we can reuse or give a second life to objects?
There are many things you can reuse and give a second life that is different and maybe even better than their original one. You can upcycle tins, DVDs, boxes, tyres, toys, chairs… and a whole load of other things. There is no limit for your imagination and creativity.
It’s easier than you think, and as we know, when life throws you scraps, make a quilt!
Talking of which…how about turning a little box into a sewing basket? You will need to take the following steps:
How can you make a sewing basket? Follow the steps!
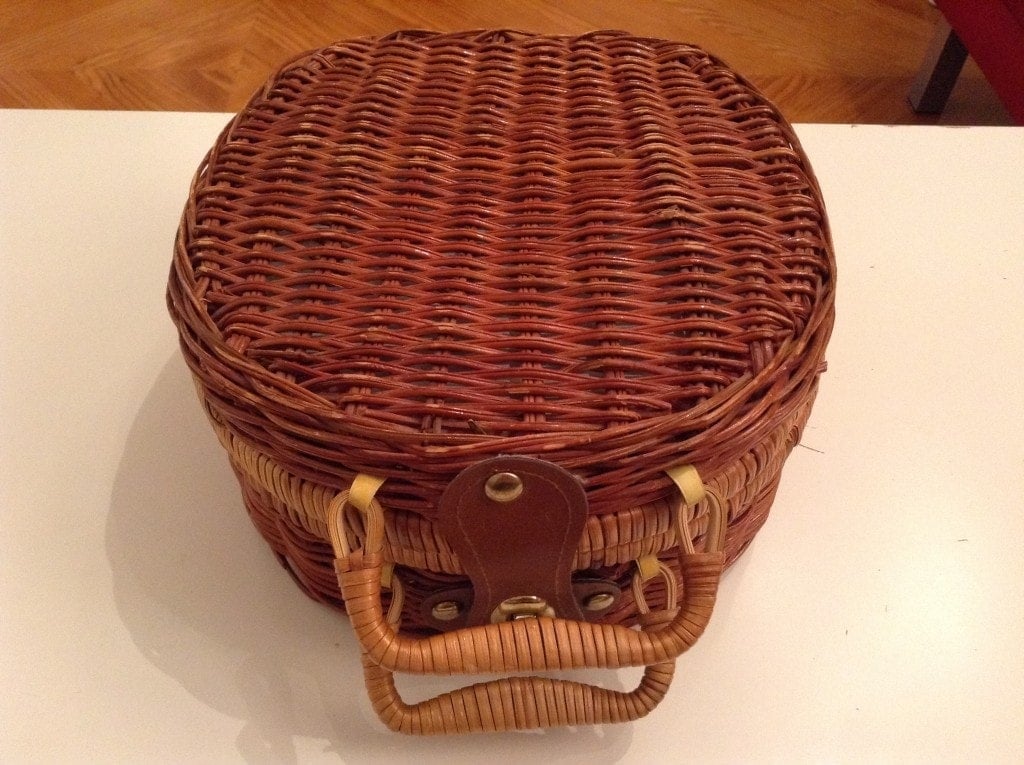
- Start off by choosing the basket or box you are going to reuse. In our case, we have found a little wicker basket through the Revive project. This is a website for buying and selling reusable items that Ferrovial Services and CI3 -Centre for the Innovation of Smart Infrastructures- have set up for the recycling centres in Alcobendas, near Madrid, and Witchford in the UK.
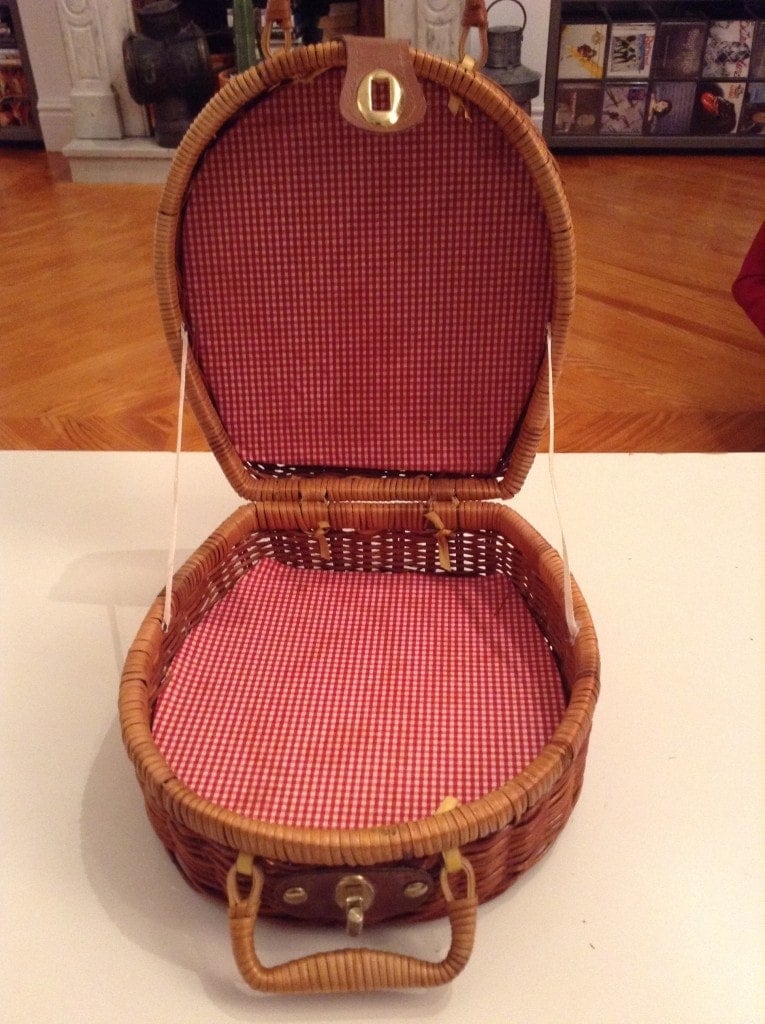
- We then take a piece of cardboard and a marker pen to make a template for each one of the linings of the box (top and bottom). We have made use of a piece of cardboard with a red-square pattern from an old toy we found in the attic. We now cut the cardboard to the same shape and size as the inside of the basket.
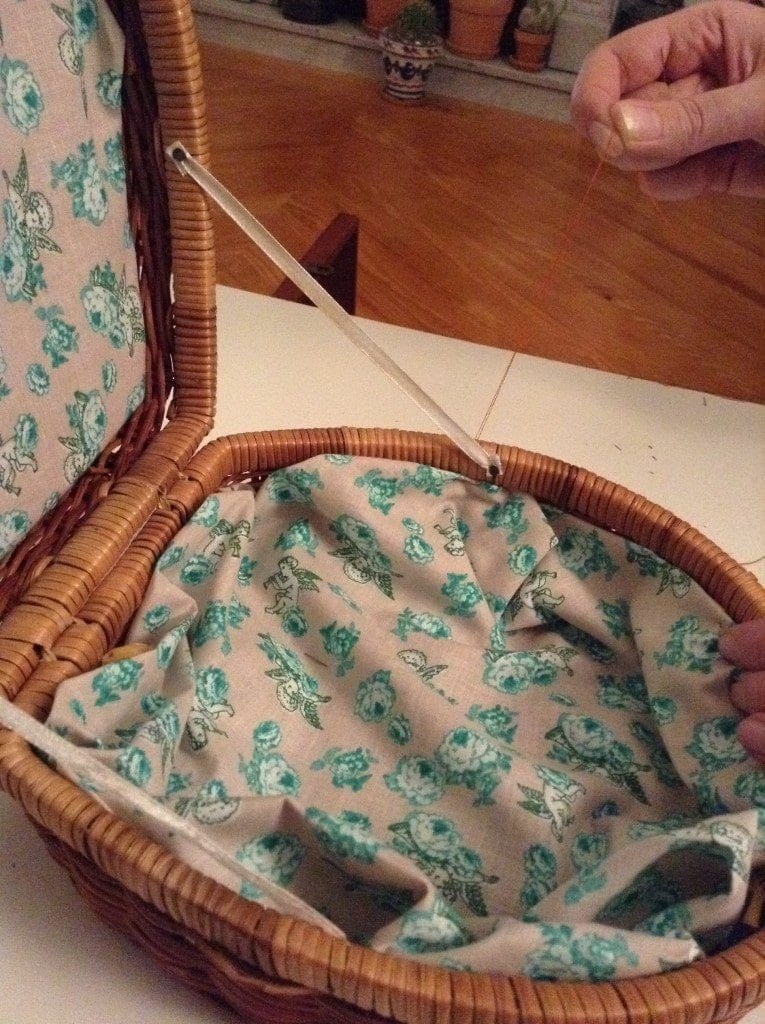
- The next step is to choose the fabric we like for lining the inside of the basket. As the idea is to reuse objects and articles we have at home, you could, for example, choose old curtains, sheets, tablecloths … In this case, we have used an old apron. Then take the cardboard lining on the lid and cut the fabric to the same shape, but around five centimetres bigger on each side to cover the cardboard. The cardboard on the bottom stays as it is, because we’re going to cover it with fabric.
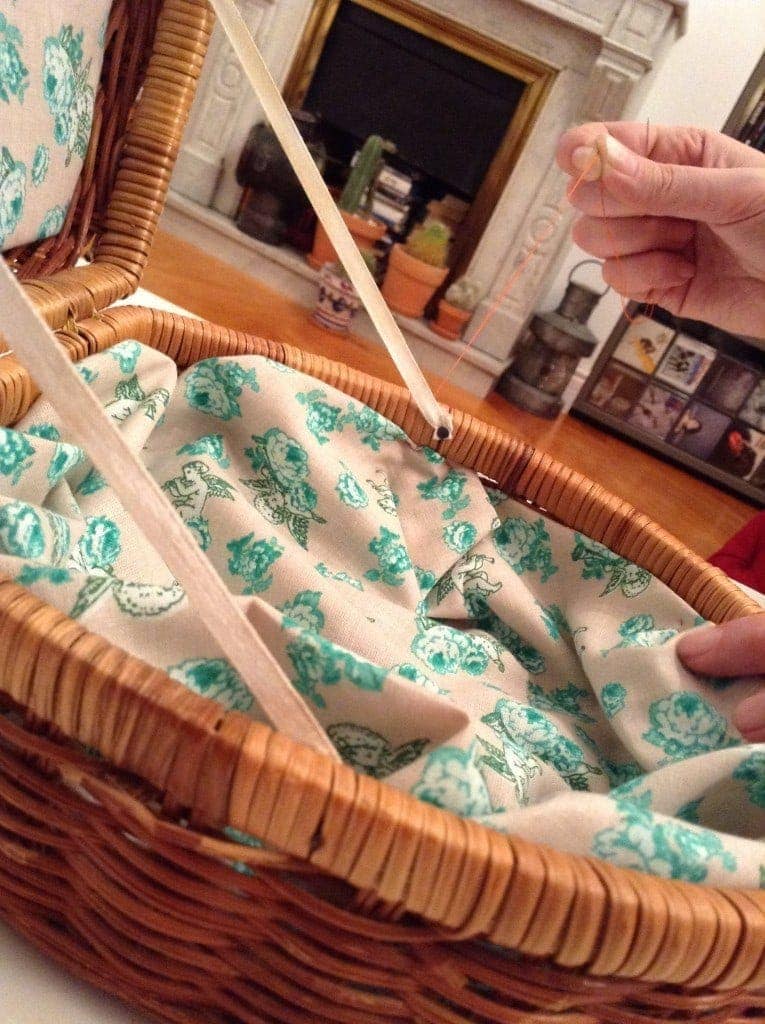
- We then use white carpenter’s glue to stick the pieces of cardboard to the top and bottom of the basket: the piece covered with fabric is the top and the plain cardboard goes at the bottom. We cover the cardboard at the bottom loosely with fabric and sew the edges to the sides of the basket.
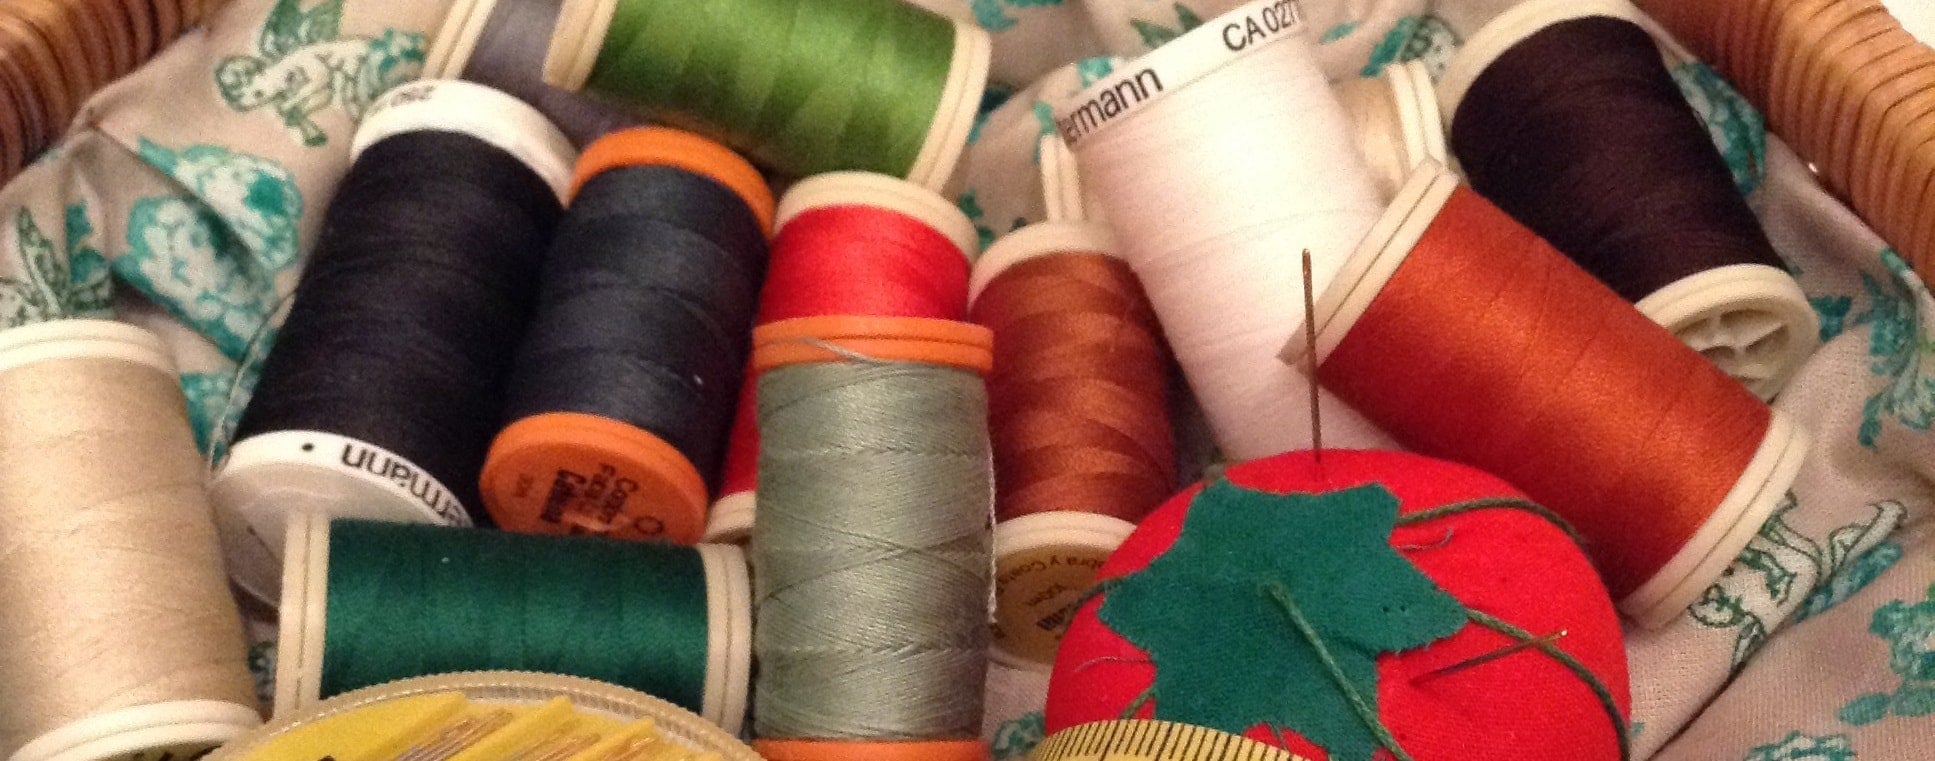
- And… voila! It’s done. Now all we have to do is fill the basket with thread, buttons, needles, tape measure and other necessary items. This is how you can transform any old container into a pretty little sewing box. Are you ready to have a go?



There are no comments yet